首先我们需要下载ElasticSearch主题和相关依赖:
https://www.elastic.co/cn/downloads/elasticsearch — ElasticSearc主题文件
https://www.elastic.co/cn/downloads/logstash — 可以直接从MySql获取到相关数据
https://www.elastic.co/cn/downloads/kibana — 界面化操作,首次搭建时测试用图形化操作
https://github.com/medcl/elasticsearch-analysis-ik/releases — 分词器
ElasticSearch的安装以及文件说明
下载完毕后,解压elasticsearch压缩包得到elasticsearch文件夹,其中几个主要使用文件有:
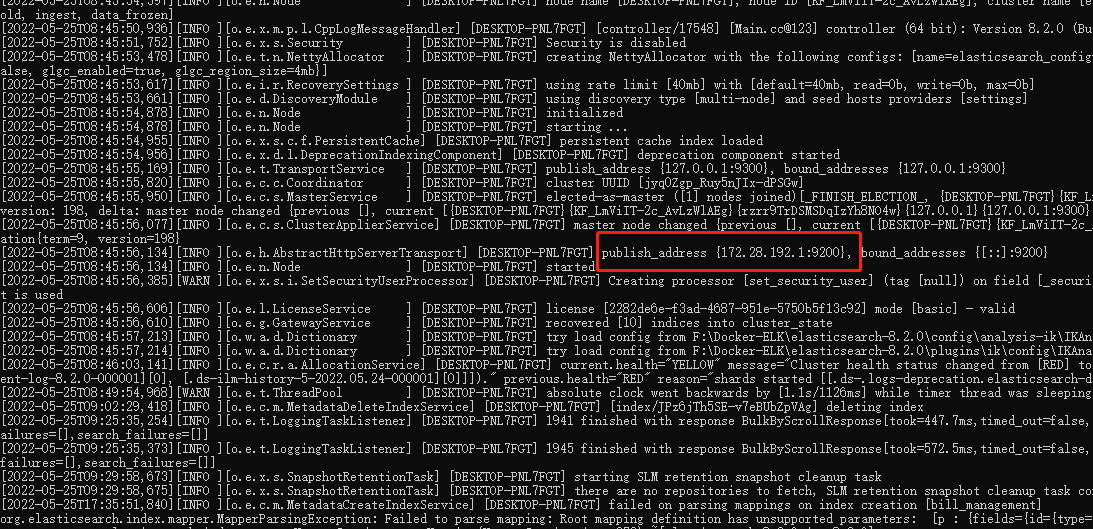
elasticsearch-8.2.0\bin\elasticsearch.bat 用于启动ElasticSearch服务用的。注意:打开对话框后请默默等待,不要用鼠标乱点,可能会引起其他莫名其妙的错误,比如kibana图形化操作界面无法启动等。
elasticsearch-8.2.0\config\elasticsearch.yml 是ElasticSearch服务的配置文件,首次启动的时候会有一些相关的配置,下面的配置代码直接复制可以进行简单的使用,如果只是普通的全文检索该配置是足够的:
# Enable security features
xpack.security.enabled: false

xpack.security.enrollment.enabled: true


# Enable encryption for HTTP API client connections, such as Kibana, Logstash, and Agents
xpack.security.http.ssl:
  enabled: false
  keystore.path: certs/http.p12

# Enable encryption and mutual authentication between cluster nodes
xpack.security.transport.ssl:
  enabled: true
  verification_mode: certificate
  keystore.path: certs/transport.p12
  truststore.path: certs/transport.p12

# Create a new cluster with the current node only
# Additional nodes can still join the cluster later
cluster.initial_master_nodes: ["DESKTOP-PNL7FGT"]

# Allow HTTP API connections from anywhere
# Connections are encrypted and require user authentication
http.host: 0.0.0.0

# Allow other nodes to join the cluster from anywhere
# Connections are encrypted and mutually authenticated
#transport.host: 0.0.0.0
http.cors.enabled: true
http.cors.allow-origin: "*"
network.host: 127.0.0.1
ingest.geoip.downloader.enabled: false
#----------------------- END SECURITY AUTO CONFIGURATION -------------------------
elasticsearch-8.2.0\plugins plugins是ElasticSearch服务的插件存放文件夹,可以把分词器放到该目录中。
在elasticsearch-8.2.0\plugins 文件夹下创建文件夹:ik 然后把分词器解压放到该文件夹,然后重启Elastic Search服务即可
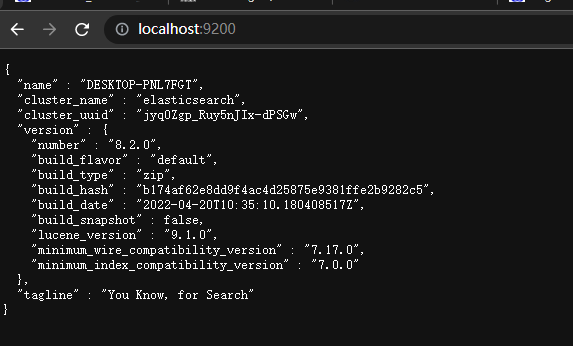
当服务完全启动后,可以在浏览器上输入:http://location:9200即可查看服务是否启动成功:
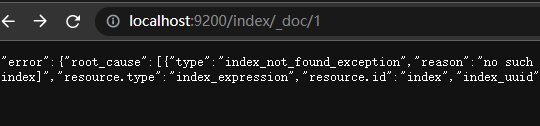
也可以在后面增加一些特定的命令实现类似检索,查看等简单的操作:
ElasticSearch的启动
先修改好配置文件,然后直接双击elasticsearch-8.2.0\bin\elasticsearch.bat,然后等待服务启动。期间不要用鼠标乱点,也不要操作键盘。如果启动失败会有[ERROR ]的相关提示,复制错误提示在百度翻译或者错误信息。
这是我们就可以在浏览器上输入: http://location:9200 查看当前服务的基本信息。
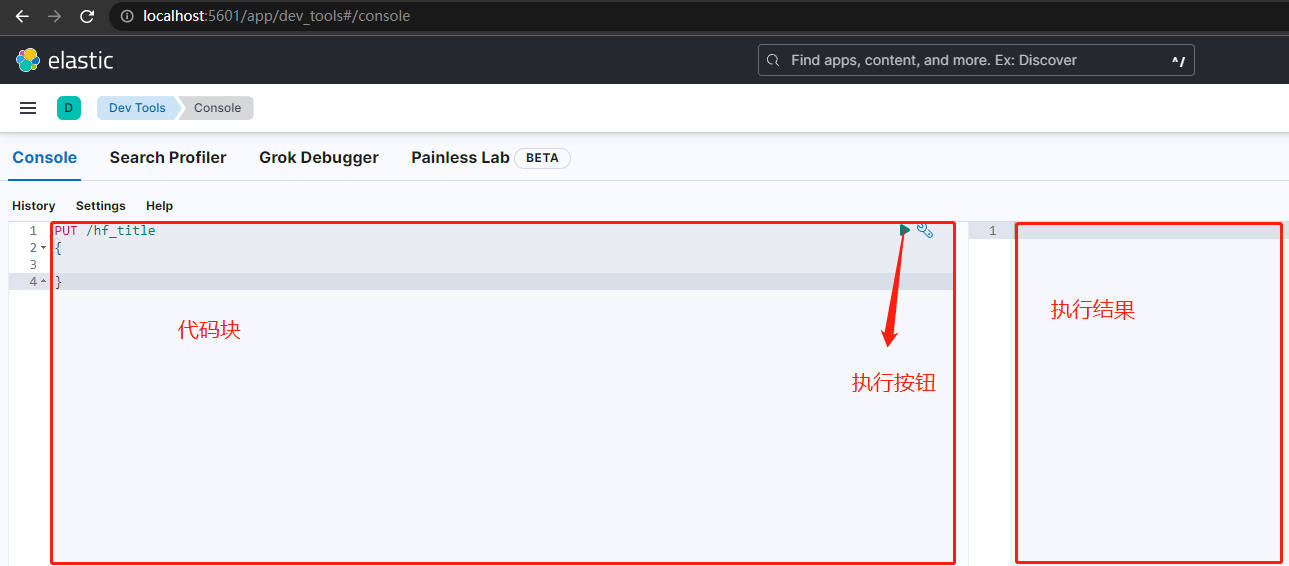
Kibana ElasticSearch的图形化操作界面
kibana-8.2.0\bin\kibana.bat 文件是启动Kibana图形化操作页面的
kibana-8.2.0\config\kibana.yml 该文件为kibana服务的配置文件。直接使用就行。
Kibana 的启动
双击kibana-8.2.0\bin\kibana.bat文件,然后等待服务启动成功
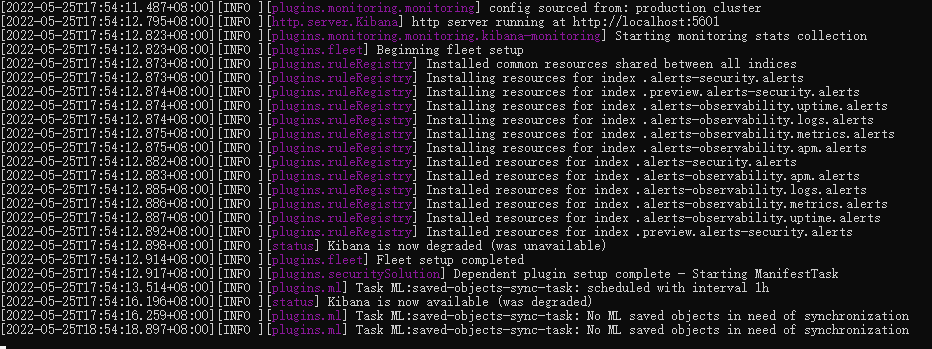
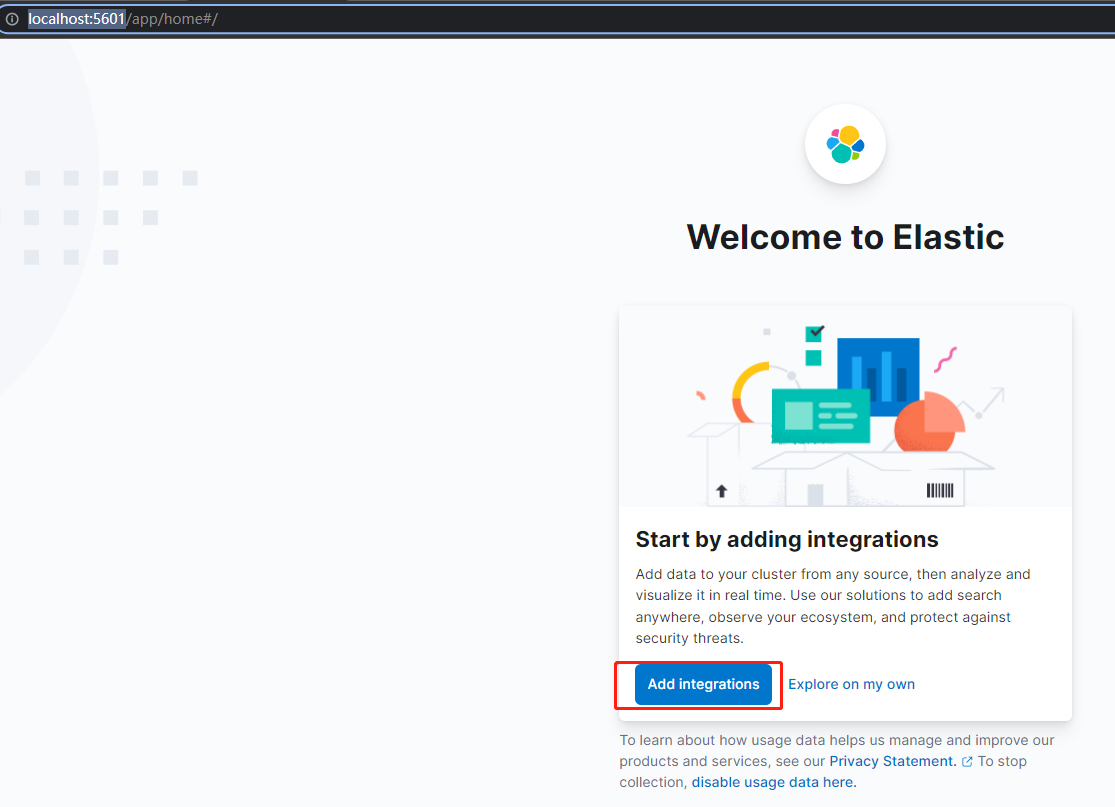
这是我们可以在浏览器上输入:http://localhost:5601/ 即可打开图形化操作界面。
这里我们注意一下,如果我们Kibana服务需要先启动ElasticSearch服务后才可以启动Kibana服务,否则Kibana会启动失败。同时我们在启动ElasticSearch服务时如果启动界面的某个字符时在被选中状态的时候,Kibana服务也同样会启动失败,并且报错,报错内容:
[ERROR][savedobjects-service] [.kibana] Action failed with 'Request timed out'. Retrying attempt 1 in 2 seconds.启动成功后,我们在浏览器上输入:http://localhost:5601/ 即可打开图形化页面:

以上就是整个ElasticSearch的简单部署以及启动。